
Conquering Utah Mud: 6 Expert Tips for Self-Extraction When You're Stuck
Stuck in Utah's notorious clay-mud? Learn six proven self-extraction techniques from TimberRaven's off-road experts to get your rig moving again.
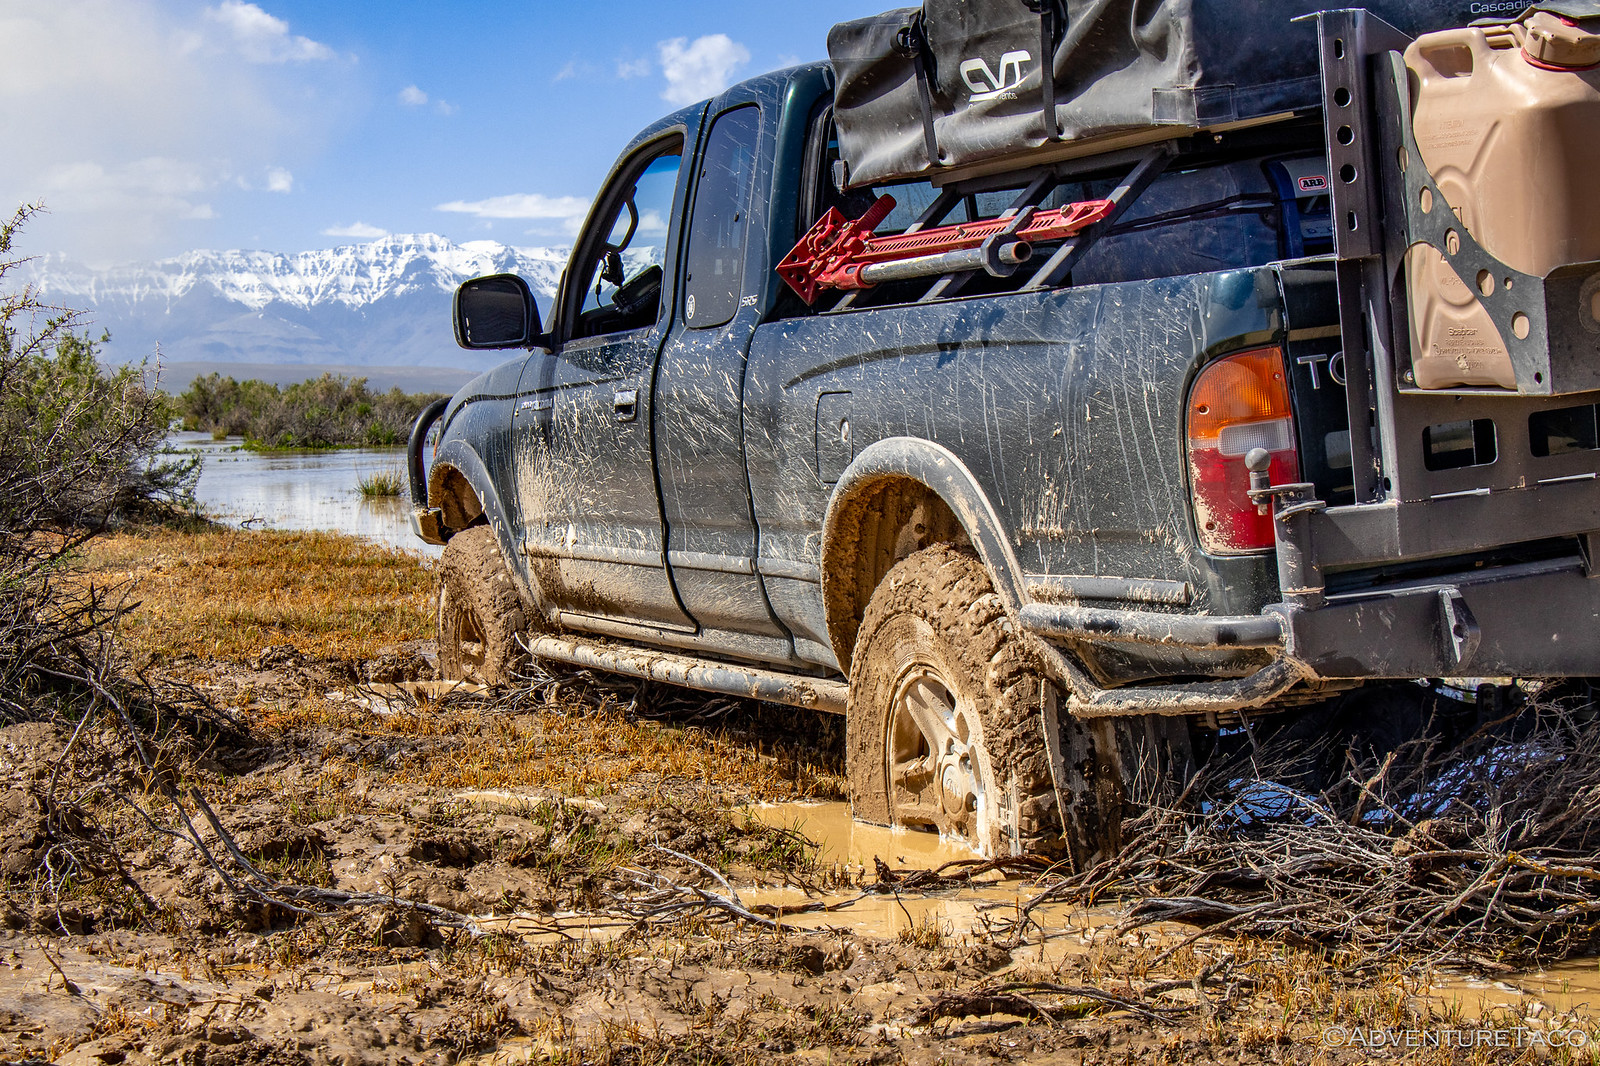
Utah's backcountry offers some of the most breathtaking off-road terrain in the country—red rock canyons, alpine passes, and high desert that stretches to the horizon. But anyone who has spent serious time wheeling in the Beehive State knows there's a hidden enemy lurking after every rainstorm: Utah mud. Specifically, the bentonite-heavy clay that turns the surface of countless trails into a slick, suction-cup nightmare capable of swallowing tires up to the axles in minutes.
Whether you're a weekend warrior, an overlander, or a first responder navigating remote rescue routes, getting stuck is not a matter of if—it's a matter of when. The good news? With the right knowledge, the right tools, and a calm head, you can self-extract from most situations long before you need to call for a tow or a buddy with a winch.
At TimberRaven Outdoors, we've spent thousands of hours teaching drivers how to read terrain, handle their vehicles, and recover from sticky situations. Below are six field-tested tips for self-extraction that every off-roader should have in their mental toolbox before tackling Utah's muddy trails.
Understanding Utah Mud: Why It's Different
Before we get into extraction techniques, it's worth understanding why Utah mud is uniquely punishing. Much of the state's soil contains bentonite clay—a fine-grained, highly absorbent material that swells dramatically when wet. The result is a slippery surface layer over a dense, gummy base that grips tires like cement and clogs every crevice of your drivetrain, suspension, and wheels.
Unlike sandy mud or loose mud common in the Pacific Northwest, Utah's clay-mud doesn't drain well, doesn't dry quickly, and doesn't release your tires once it has them. Knowing this changes how you approach recovery. Brute force alone won't get you out—strategy will.
1. Traction Is King
It sounds painfully obvious, but the first principle of mud recovery is also the one most people overlook in the heat of the moment: you don't need more power, you need more traction. And here's the encouraging part—you might not be as stuck as you think you are.
Before you start digging or panicking, take a slow walk around the vehicle. Assess how deep each tire is buried. Check whether the chassis is sitting on the mud (bellied out) or whether the tires still have clearance. Often, what feels like a hopeless situation is actually a recoverable one with the right approach.
Traction Boards: The Gold Standard
If you're serious about off-roading in Utah, traction boards (recovery boards) are non-negotiable equipment. Brands like MaxTrax, ARB TRED Pro, and similar high-quality boards are engineered specifically for this purpose. They wedge under your tires, give the rubber something solid to bite into, and let you drive out under your own power.
To use them effectively:
- Clear as much mud as possible from in front of the drive tires
- Wedge the boards firmly under the tire treads, angled in the direction of travel
- Apply gentle, steady throttle—do not spin the tires, or you'll launch your boards across the trail (and potentially damage them or someone behind you)
- Once moving, don't stop until you reach solid ground
Improvised Traction in the Field
If you don't have boards—or if you've already used them and need a backup plan—you can improvise. Branches, gravel, flat rocks, and even your floor mats can serve as makeshift traction aids in a pinch. Wedge them firmly in front of (and slightly under) each drive tire.
One critical detail: if your vehicle doesn't have locking differentials, you must build traction under both tires on each driven axle. An open differential will send all the power to the tire with the least resistance, meaning your packed-and-prepped tire will sit perfectly still while the opposite tire spins itself deeper into the mud. Treat both sides equally and you'll dramatically increase your odds of a successful extraction.
2. Air Down—And Air Down Hard
Tire pressure is one of the most underutilized recovery tools available, and it costs you nothing to use. Lowering your PSI dramatically increases your tire's contact patch—the surface area touching the ground—which translates directly into more grip.
For mud recovery in Utah, we recommend airing down to 15 PSI as a safe baseline for most full-size trucks and SUVs running aggressive all-terrain or mud-terrain tires. This pressure significantly improves traction without putting your tire bead at serious risk of unseating during normal recovery maneuvers.
If you're running beadlock wheels, you can go even lower—into the single digits—but for standard wheels, 15 PSI is the sweet spot between maximum traction and acceptable risk. Going below 10 PSI without beadlocks risks popping the tire off the rim, which converts a stuck-in-the-mud problem into a stuck-in-the-mud-with-a-flat-tire problem. Don't compound your situation.
One more thing: always carry a quality air compressor. Airing down is only useful if you can air back up before driving on pavement. A portable compressor like an ARB twin or a Viair 400-series belongs in every overland kit.
3. Clear the Lugs (The Utah Clay-Mud Special)
This is the tip that separates novice mudders from seasoned Utah wheelers. Bentonite-heavy mud doesn't just coat your tires—it completely fills the voids between your tire lugs, effectively turning your aggressive mud-terrain into a smooth, useless slick. At that point, you could be running racing slicks for all the grip you've got.
The fix is unglamorous but highly effective: manually clear the mud out of every lug void, on every tire. A flat-head screwdriver is the perfect tool for this job. Work it into the gaps and pry the packed clay out chunk by chunk. A pick or a sturdy stick can also do the job in a pinch.
This is tedious. It's also messy. You will get clay all over your hands, your boots, and probably your face. But once those lugs are clean, you'll be amazed at how much grip your tires recover. Combine this step with airing down and traction aids, and you've stacked the deck heavily in your favor.
Pro tip: bring a pair of dedicated work gloves and a pack of contractor-grade trash bags in your recovery kit. The bags double as a clean place to put muddy gear before it goes back in the vehicle.
4. Gear Down for Torque, Not Speed
One of the most common mistakes we see in mud recovery is drivers stomping on the throttle and trying to power their way out. Spinning tires fling mud, dig deeper holes, generate excessive heat, and accomplish almost nothing else. Yes, it looks dramatic on Instagram. No, it won't free your truck.
What you actually want is maximum torque at minimum wheel speed. That means:
- Engage 4-Low if your vehicle has a transfer case
- Select the lowest possible gear (1st in a manual, L or 1 in an automatic)
- Apply throttle slowly and progressively—think of it as pressing the pedal with your big toe, not stomping with your heel
- Listen to your tires. The moment they break loose and start spinning, ease off immediately
Slow, deliberate wheel rotation gives your tires time to find traction rather than throwing it away. This is also gentler on your drivetrain, axles, and CV joints—components that are surprisingly easy to break when you combine high RPM with sudden bites of grip.
Patience here pays enormous dividends. The driver who creeps out at 2 mph in low range will be rolling down the trail while the driver flooring it in 4-High is still digging trenches.
5. Turn Off Traction Control
This one feels deeply counterintuitive, especially for newer off-roaders. After all, isn't traction control designed to improve traction? Yes—on pavement. On loose, muddy, or sandy terrain, your vehicle's traction control system can quickly become your worst enemy.
Here's why: factory traction control systems are tuned primarily for on-road conditions. When the system detects wheel slip, it responds by cutting engine power and/or applying the brakes to the slipping wheel. On asphalt, this prevents skids. In mud, it does the opposite of what you need—it kills the very momentum and wheel speed required to claw your way out.
Worse, in deep mud or heavy ruts, traction control can become genuinely confused. The computer sees constant slip on multiple wheels and may aggressively cut power right when you need it most, leaving you helpless with the throttle pinned and nothing happening.
Most modern 4x4s have a dedicated button to disable traction control (often a button with a car-and-squiggly-lines icon). On many vehicles, you need to hold the button down for several seconds to fully disable the system—a quick tap may only disable part of it. Consult your owner's manual to learn exactly how your vehicle's system behaves.
Note: some advanced off-road systems (Toyota's Crawl Control, Land Rover's Terrain Response, Ford's Trail Control, etc.) include specific mud or sand modes that do work well off-pavement. Know your vehicle, know which mode is appropriate, and don't be afraid to override the nannies when the situation calls for it.
6. Build a Path to Freedom
Once you've maximized traction, dropped your tire pressure, cleared your lugs, and selected the right gear, there's one more thing you can do to dramatically improve your odds: physically reduce the resistance in front of your tires.
This is where a quality shovel earns its keep. Dig out the mud piled up in front of all four tires—not just the drive tires, not just the front, all four. Every ounce of resistance you remove is energy your drivetrain doesn't have to overcome.
Pay attention to:
- Mud piled in front of the tires from previous spinning attempts
- The chassis and skid plates—if your vehicle has bellied out, the mud underneath the frame is acting like an anchor. Dig it out.
- Ruts and wheel wells—mud packed against the inside of your wheel wells can lock up steering and prevent the tires from rotating freely
- The intended
TimberRaven Outdoors
Instructor & field professional at TimberRaven Critical Response LLC